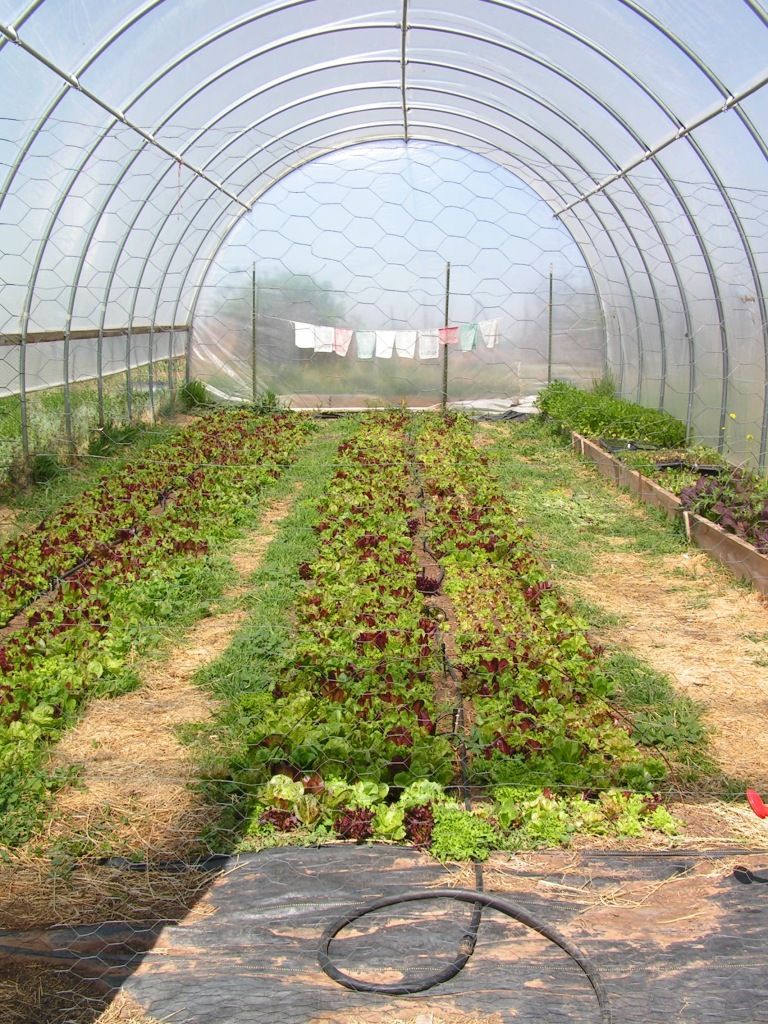
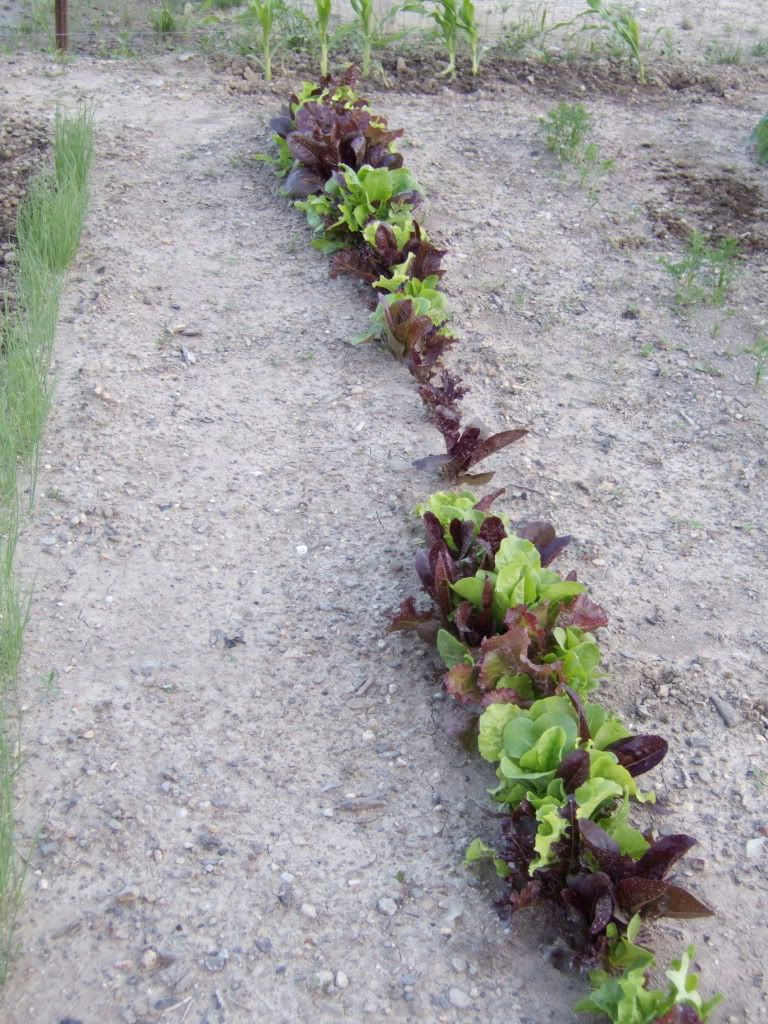
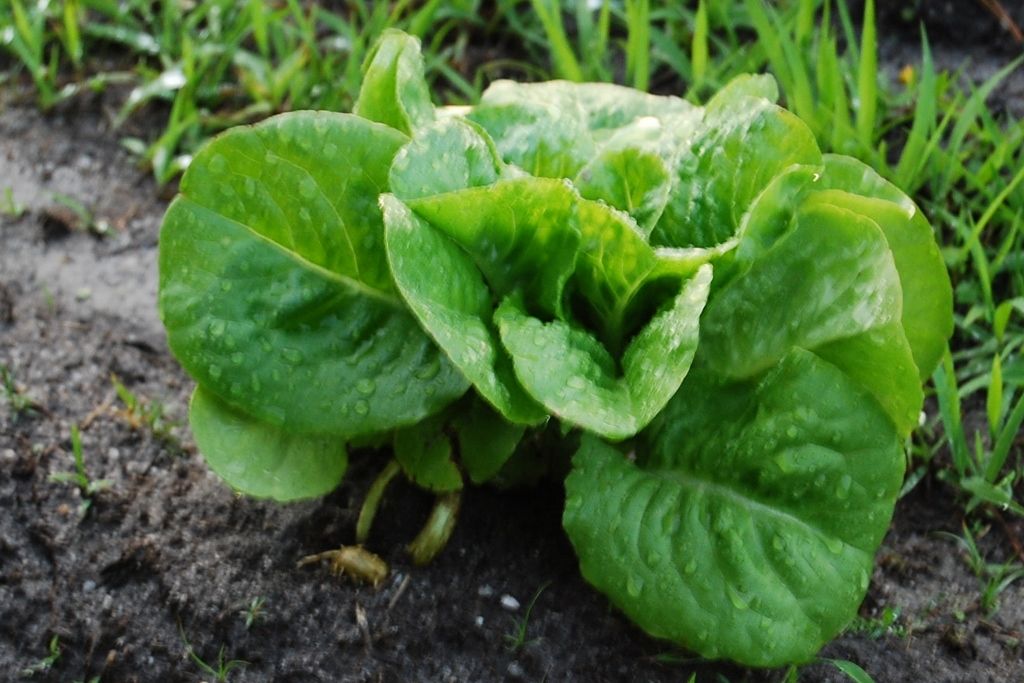
Lettuce can be sow from spring to all the way winter. It can be planted in beds, containers, and growing bags. if you have nine feet rows, you can plant nine to twenty plants to a row and four plants will go into each growing bag. If your garden space is limited, you can grow your lettuce in a pot or a window box. Lettuces comes in a dense-headed "hearting" types and frilly loose-leaf varieties and they can be harvested you can cut whenever you need some lettuce, or you can leave it so it will develop to full size and cut it whole. You can always have lettuce, if you sow under cover, this will allow you to have fresh leaves of lettuce all your round.
Different varieties of lettuce Little Gem - it is a semi-romaine variety. This lettuce produces small and dense hearts and it is a real good one for you to plant in containers if you have some to do that. It is cold resistant and also it is slow to bolt in the summer.
Tom thumb is a lettuce that produces tender green leaves and they are sweet along with a little bitterness. The lettuce is a type of the butter variety. They can be grown in containers or window boxes.
Nymans- this one has burgundy leaves and a yellow heart. It is a semi-Romaine lettuce. You can harvest this one as a baby leaf. It has a good mildew resistance and it is slow to bolt.
Pinocchio- it is a semi-romaine lettuce and because of its compact style you can plat this one in containers. It has upright leaves and sweet, yellow hearts. You can plant t in cold weather, because it has a cold tolerance to it.
Freckles- this lettuce is a Romaine type and the leaves are green with some burgundy. the plants are upright and have sturdy growth to them and are slow to bolt too. Moltstone- the leaves are mid-green and has some burgundy on these leaves. You can crop the loose heads whole on your can harvest them individually. Sioux- this lettuce has green leaves with some red as the lettuce matures if the lettuce is growing in sunny sites. You can sow it several times during the summer, because it has good mildew resistance. Winter Density- this type of lettuce is grown a lot because of its hardiness and it has dense hearts. It can be for early or late crops because it has good heart tolerance. Lollo Rosso- It is a loose-leaf type of lettuce, and it has red-flushed, crinkled leaves that you can use when ever you need it. Sowing under cover This lettuce can have early sowing as long as it is done under cover between late winter and early spring, then you can plant them outside when the weather conditions are good.
How to plant You will need to fill the modules or trays with some compost, water well and then allow each one to drain. The two seeds that you will put into each pot or module has to be planted 1/2 inch deep hole. Seeds can be sow in bigger trays at the same depth. the next step is cover the seeds with compost, and water everything lightly. Put them in a warm, light place.
Sowing outside You can sow summer varieties of lettuce from early spring until midsummer and the winter-hardy ones should in the late summer months. First, you will need to dig over all of the soil, remove all of the weeds if the soil has any, and then take your rake and make it level. Make holes or drills 1/2 inches deep and make them twelve inches apart from each other them sow four or five seeds in each clusters every four inches. Cover your seeds over with soil, and water them lightly. Always protect the seedlings against slugs.
Planting out When your indoor-raised seedlings are ready to be harden, you will need to be place them outside during the daytime, and then put them back inside at night for even to ten days. Get your soil ready and then plant the seedlings out about 12 inches apart, and cover them with a cold frame in cool weather. Routine care. During the warm weather, you will need to keep your plants will watered so they do not dry out during the last weeks before harvesting, because this may make them bolt. You will need to always keep weeding between rows regularly so it is not reduce competition for light, nutrients, and moisture. Protecting plants During the warm, wet weather the most common pests are slugs and snails. You can lay bait traps or organic pellets for them or your can use grit to create a barrier around your crops. Aphids are another pest that you will need to check for signs or damage. Harvesting Harvesting lettuce can be done two ways, one way is to cut individual leaves from loose-leaf lettuce when they are mature, or you can harvest them all at one time. If you want lettuce all the time you will need to sow seeds little and regularly. You can sow a new batch of lettuce seeds when the previous one is ready to be planted out or when you need to thin for a second time.
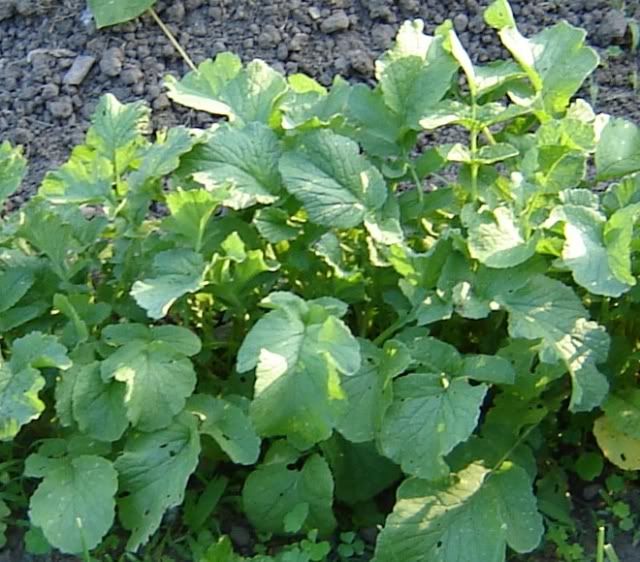
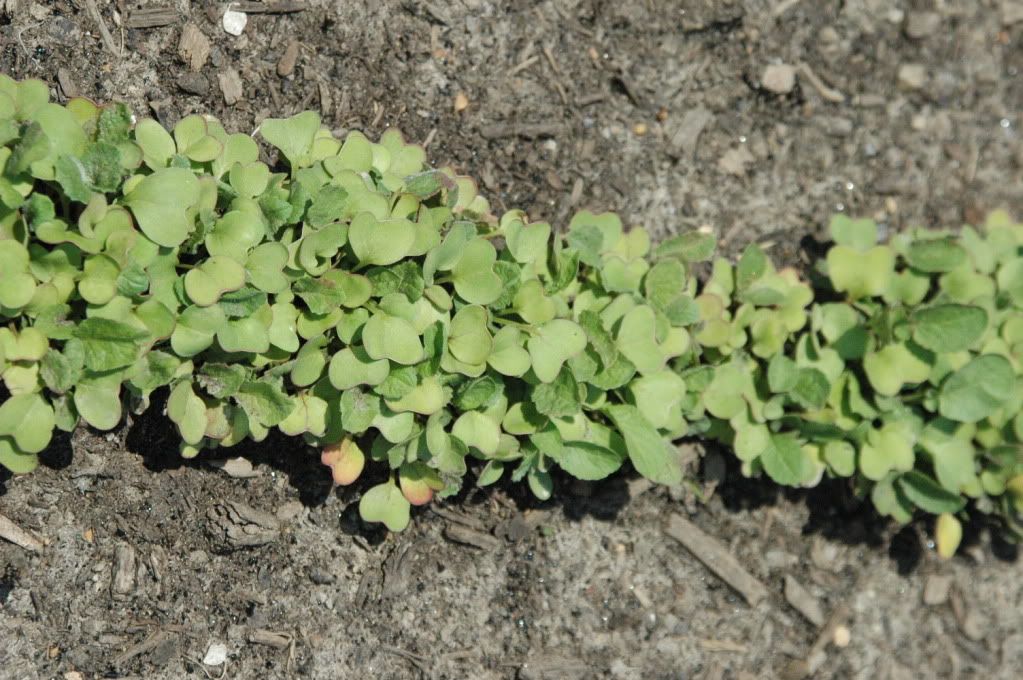
Radishes are suitable for beds, and containers. They are sow in spring, summer and first part of fall. They are harvested in five to eight weeks which will start in late spring, all of summer and fall and the first part of winter. Plant sixty plants for a nine foot roll and plant twenty-two plants in a container.
Getting started Radishes will grow in most of the different soils and sties, they will grow in partial shades. Radishes is a vegetable that matures very fast, so you need to sow seeks little at a time and do this often, to always have radishes all the time. When your radish plants are three inches in height, you will need to plant some more radishes.
Sowing Under Cover If you live in colder areas you can sown under cover in early spring. First, you will need to put compost up to 1/2 inches of the top of the tray press down, water well, and give it time to drain. Put seeds real thin on the surface in small clusters, and then cover the seeds with compost. Radish seeds comes up real quick and you need to plant the plants outside after the frost is gone.
Sowing outsides Radishes matures real quick when you plant directly into the ground. If you want to plant radishes, this is the great way. Always prepare the soil before you plant the radishes by removing weeds and then rake to a fine tilth. Don't sow radishes where brassicas have been grown lately.
Routine care The radishes need to be kept well watered. Their seedlings need to be thinned as they grow. They also need to be hoe to get rid of pests and diseases because weeds will have pests on them. Protecting plants During the hot and dry weather, radishes are vulnerable to flea beetle damage. They are also at risk from snails and slugs. You will need to cover your radishes with a fine insect netting to deter cabbage root fly.
Harvesting Your radishes need to be pull up when they reach a harvestable size. If yo leave your radishes to long, especially during the summer, they will become spicy and pithy. You will need to check your radishes daily, and pull the radishes that has the largest roots.
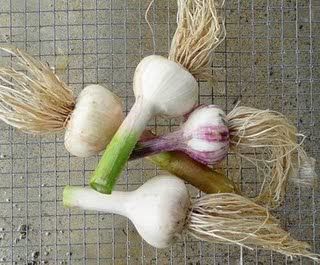
Garlic can be grown in beds and containers and it is very easy to grow. You can plant out each cloves in a sunny location between mid-fall and early spring and you will be able to have mature bulbs to harvested from early to midsummer. Garlic can be used as soon as you harvested it or you can dry it to use throughout the winter months. Getting started
There are two different types of garlic, one is hardneck and the other one is softneck. the cloves needs to be planted in light, well-drained soil. If your soil is not light, well-drained you will need to add composted bark to your soil. Planting inside If you are planting under cover, you will need to do this in early spring. Break the bulb of the garlic into separate cloves, now fill your pots with compost, and put one clove into each pot. Water each pot well, and then allow each to drain. Put all of pots where it is warm and bright; 50 degrees this sufficient. If you let the plants get to hot it will cause sappy growth, which could cause it to be more prone frame or a sheltered spot outside, you can grow your plants there after their shoots reach four inches tall.
Planting outside You can plant garlic cloves in the ground any time between fall or spring. After you have selected a sunny, sheltered spot, you will need to remove all of the weeds. Then put some high-nitrogen granular fertilizer in your soil, and rake the soil level. Plant the cloves with the tips facing up, but you will need to plant these deeper than you did when you planted them under cover.
Routine care If your garlic plants are young, they will need to be well watered, so they will develop a strong root system. After the garlic is good, then it is drought-tolerant so they do not need a lot of water because to much water could mess up their storage qualities. You will need to water your garlic when it has been really dry. The crops have to keep well weeded. Harvesting Once you see the top third of the foliage turn yellow and begin to die, lift it out, be very careful when you are taking them out, so you do not damage the bulbs.
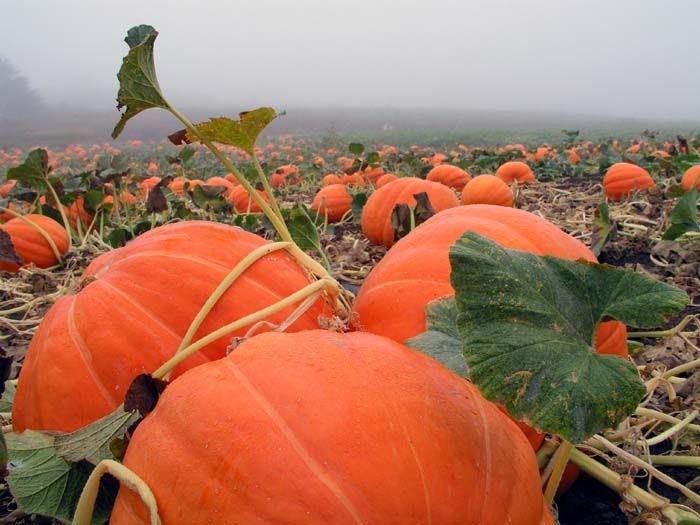
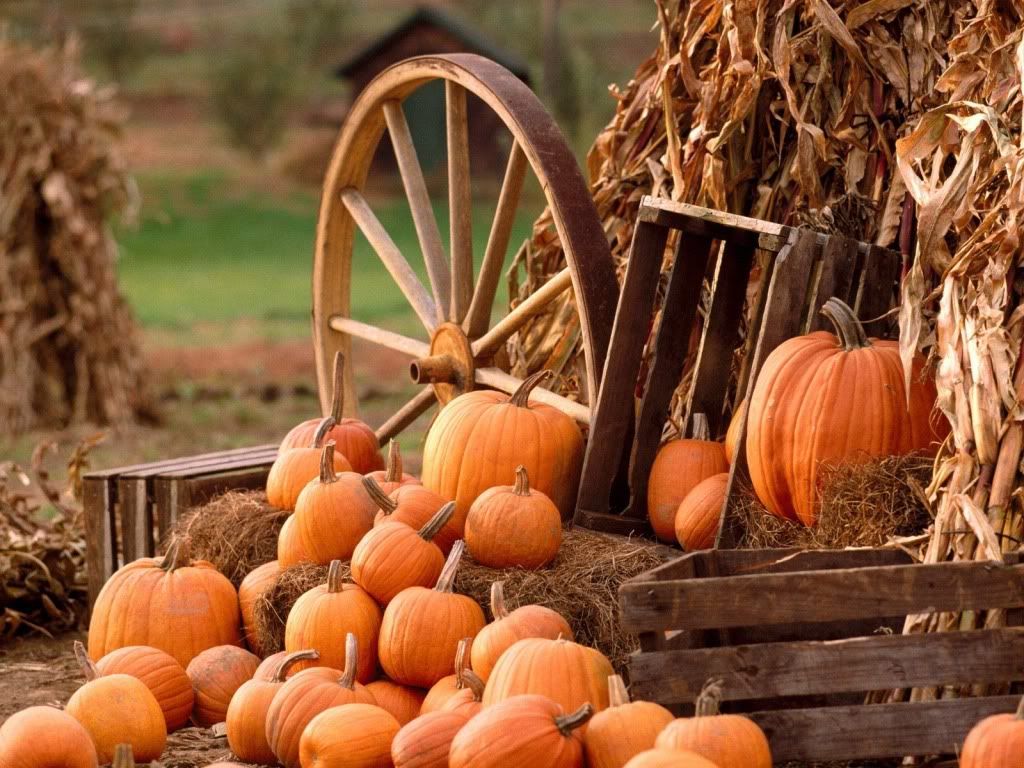
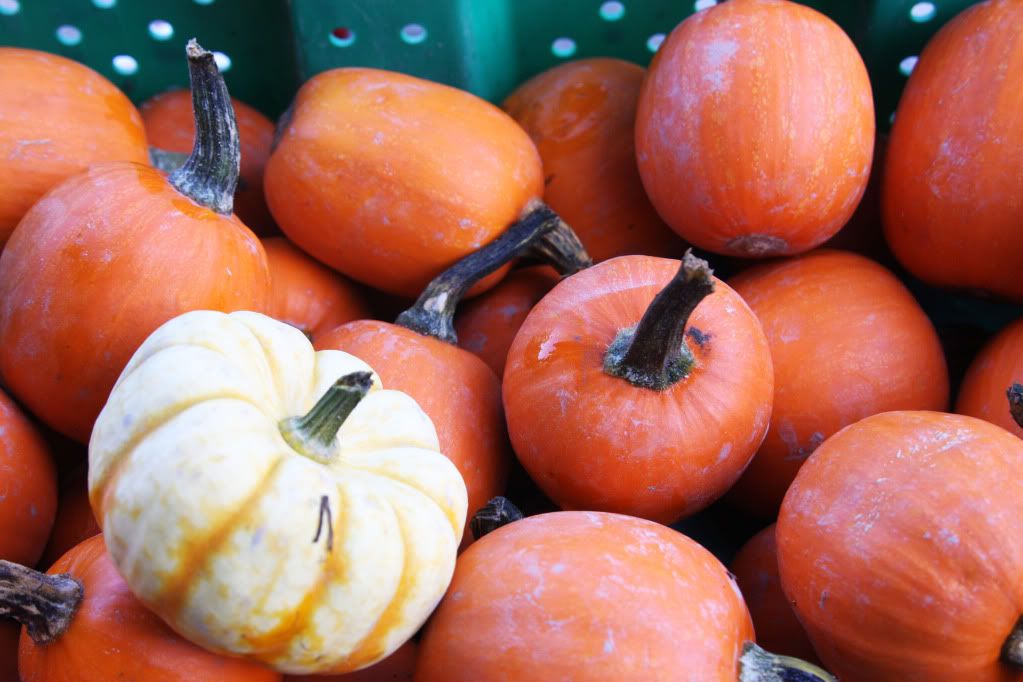
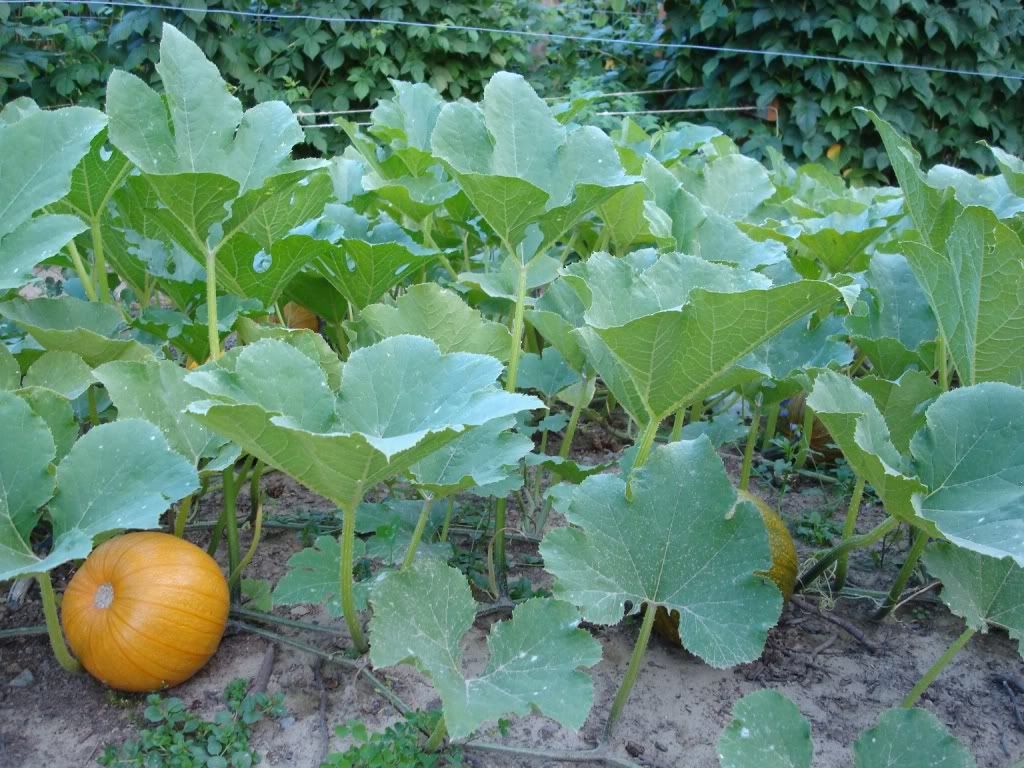
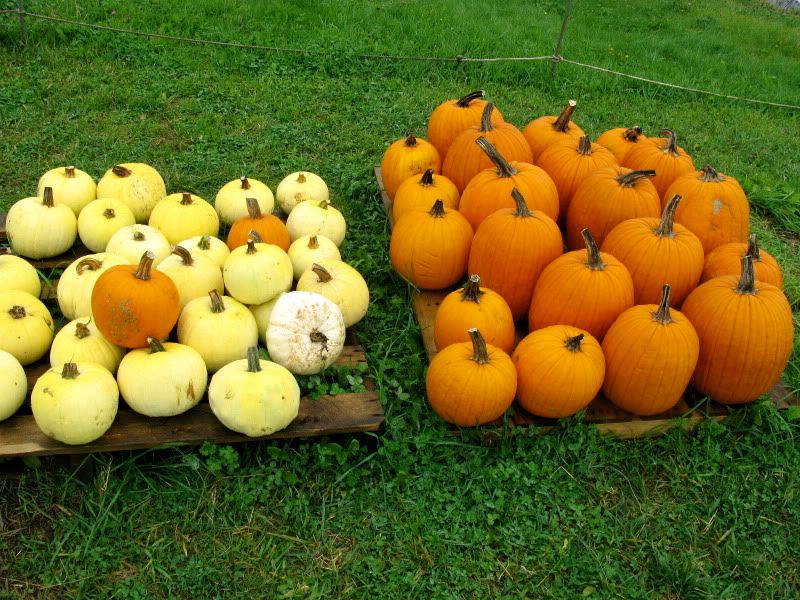
Pumpkins come in different varieties, some with big pumpkins and some with smaller pumpkins. If you have mammoth pumpkins, they will take up a lot of space in your garden, whereas, if you are looking to grow smaller varieties you can do this in a smaller garden space, some can be planted in containers. Pumpkins are reliable and they are easy to grow. They need a good supply of water and fertile soil, and they need some protection against slugs and snails. People always think of pumpkins at Halloween, but the fruit has tasty sweet flesh and they will store well during the winter.
Getting started You can get pumpkin plants in spring, but they are usually grown from seed, and there are many varieties to chose from. If you want large fruit to choose from. If you want pumpkins for carving, you will need to pick a variety that produces large fruit and thin the fruit to one to two per plant. If you want one for eating, pick your variety, and let each plant develop four or five fruit.
Four varieties of pumpkins Baby bear pumpkins is a small one the size of a soccer ball. Jack be little makes small brightly colored fruit that are ones that can be tasty and decorative. 'Rouge Vif d' Etampes' is a heirloom variety that you can eat and used for decorations also. Atlantic giant is one of the largest fruiting variety of pumpkin and it can be eaten if it is picked early.
Sowing under cover When you are planting pumpkin seeds you will need to sow the seed individually. The seeds needs to be planed 3/4 inch deep in a 4 inch pot and they have to be placed in a warm propagator set of 68 - 77 degrees. Pumpkins need a long time to develop full-size fruit. If you lived in cold areas, you will need to start them off under cover in the spring and you plant them outside after all the frost has stopped. Planting your seeds on their sides will keep them form decaying in the compost.
Sowing outside You can sow your seeds directly into the soil, as long as it in the lat spring. While you are waiting for the night time to sow your seeds, you will need to sow your seeds, you will need to get your soil ready to be planted n. The soil needs to get improvement and you can achieve this, by using well-rotted organic matter such as garden compost. After you plant the seeds 1 1/4 inches deep and 3 feet apart. They need to be water real well, and cover with a large cut-off clear plastic. Keep well-watered as they grow. If you space is limited for your pumpkin plants, you can train them by using old nets to support the swelling fruit. You need to tie the stems in as they grow. Training If you do not have a problem with space, you can let the plants run over the ground along with other plants. If the space is limited, you will need to tie the stems to stakes that needs to be set out in a circle and pushed the stakes into the soil.
Harvesting When it gets mid-fall your fruits will be ready for harvest. To cut your pumpkins, you will need to cut them with a short stalk so that will prevent the stem form rotting back into your pumpkin and this will provide a carrying handle. If you are not going to used them right away, you will need to dry the skins by leaving them outside in a sunny spot for a week. If it is going to rain, you will need to bring them to a bright location where it is cover. They will store well for months. My family and I grow some pumpkins about three years ago. We had a lot of room for them to grow in, so we didn't have to train the vines. We had a bunch of pumpkins that were both of the large types and small types of pumpkins. We all like different ways that you can enjoyed your pumpkins whether in eating them in different recipes or to carve for Halloween.
Here is a video on how to grow your Halloween Carving Pumpkins or to make your Pumpkin pies for Thanksgiving.
You can grow and harvest cauliflower all year round because you have so many varieties to choose form. The cauliflower comes in the white-headed, purple, orange and green heads. The cauliflower plants need to space the plants widely so the heads can grow to fill size or you can plant them real close so the will make "mini" cauliflower. they will produce many cauliflowers if you give them a lot of food and water. Cauliflowers can be sown in the spring, fall and winter. They can be harvest early spring, all summer, fall and winter. It takes 10-16 weeks to harvest cauliflowers. Beds and containers are suitable for cauliflower. You can sow eight plants in each containers and five to six plants per nine feet rows.
Varieties of Cauliflower Snowball-this type of cauliflower is sown in spring and you will be harvesting them in the fall. Mayflower- this one is sown in mid-winter and you will be harvesting in midsummer. Walcheren Winter Pilgrim-This one is ready to harvest in the spring. Violet Queen-this one has purple heads and when you cook them they will turn green.
Sowing under cover You will need to fill your seed trays or pots with compost, water each well, and allow the water to drain out of the trays or pots. Make a 1/2 inch hold deep in each place when you are going to plant, and sow two seeds in each one. Put compost over them and water again. After they come up, they heed to be thin so you can leave the stronger seedling.
Sow Outside Cauliflowers has to be sown in late spring to get winter and spring cauliflower. To get your seedbed ready, you will need to turn over the soil, while you are mixing in organic matter. Make a short drill 3/4 inch deep, then you will need to water thoroughly, sow the seeds and then cover the seeds with dirt and water again. You do not want to plant cauliflower where other brassica crops have been planted for the last three years, and this will prevent a build-up of soil diseases.
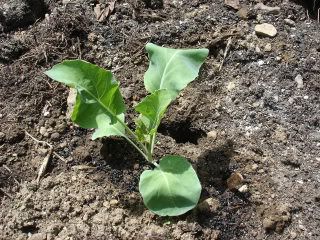
Planting Out When your tray-raised seedlings are six inches tall, they are ready to harden off the plants. You do this by placing them outside during the day and bring them back in at night for one week. After these plants are at the right height you will need to water them well, and then lift gently from the soil. Of you are planting summer varieties of cauliflower they need to be planted twenty-four inches apart and the winter types need to be space twenty-eight inches apart. Protection plants After you have your transplants you will need to water well and then put aluminum foil around the base of each plant. The next step is to place netting around the plants, and by doing this, you will deter cabbage white butterflies and pigeons. You will need to keep your cauliflowers plants hoe. Routine Care If you are raising your cauliflower in the summer, you will need to keep your cauliflower well-watered, so you can get it a good-size curd. If you are growing the cauliflower in the summer, you will need to bend a few leaves in over the head of the cauliflower to keep it from being "burnt" by the sun and this also helps in the winter types because it will help with some frost protection. Harvesting When the curds are harvestable size, you will need to cut them from the plant. They are best if you eat them right away, or they can be stored in the fridge for a few days, but they will keep better if you keep some leaves attached on the cauliflower. Blanch the cauliflowers and freeze your extra produce.
Here is a video to show you how to grow cauliflower: